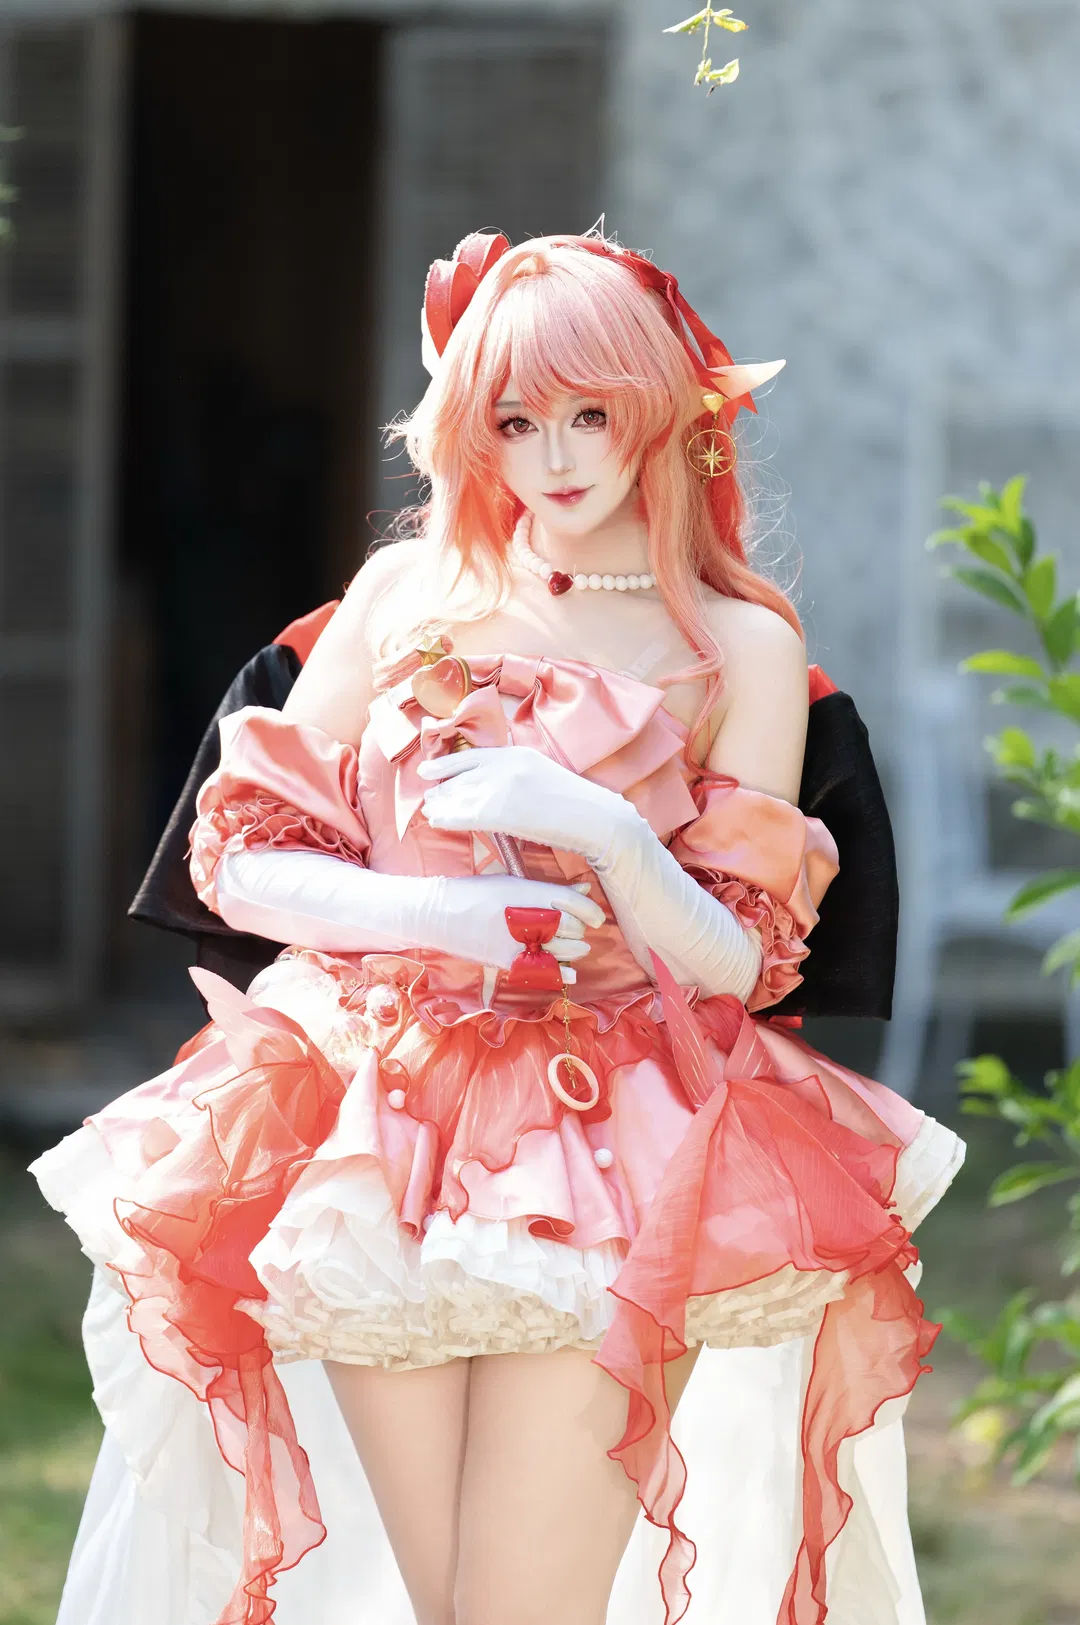
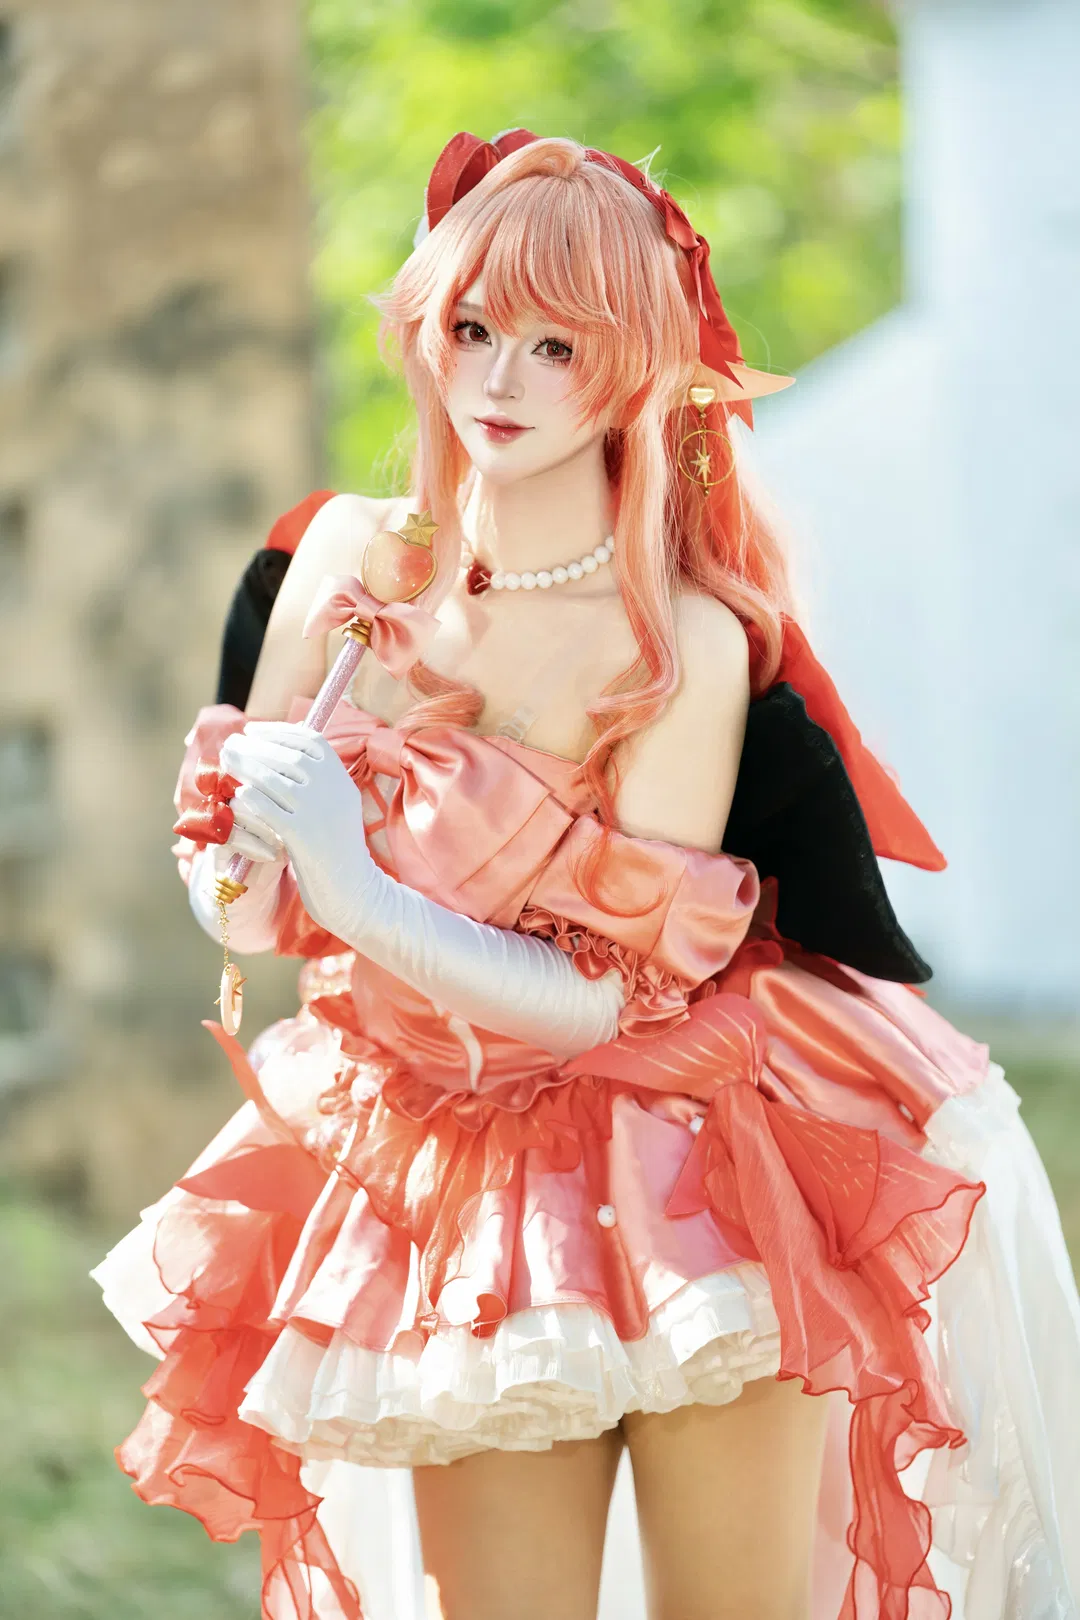
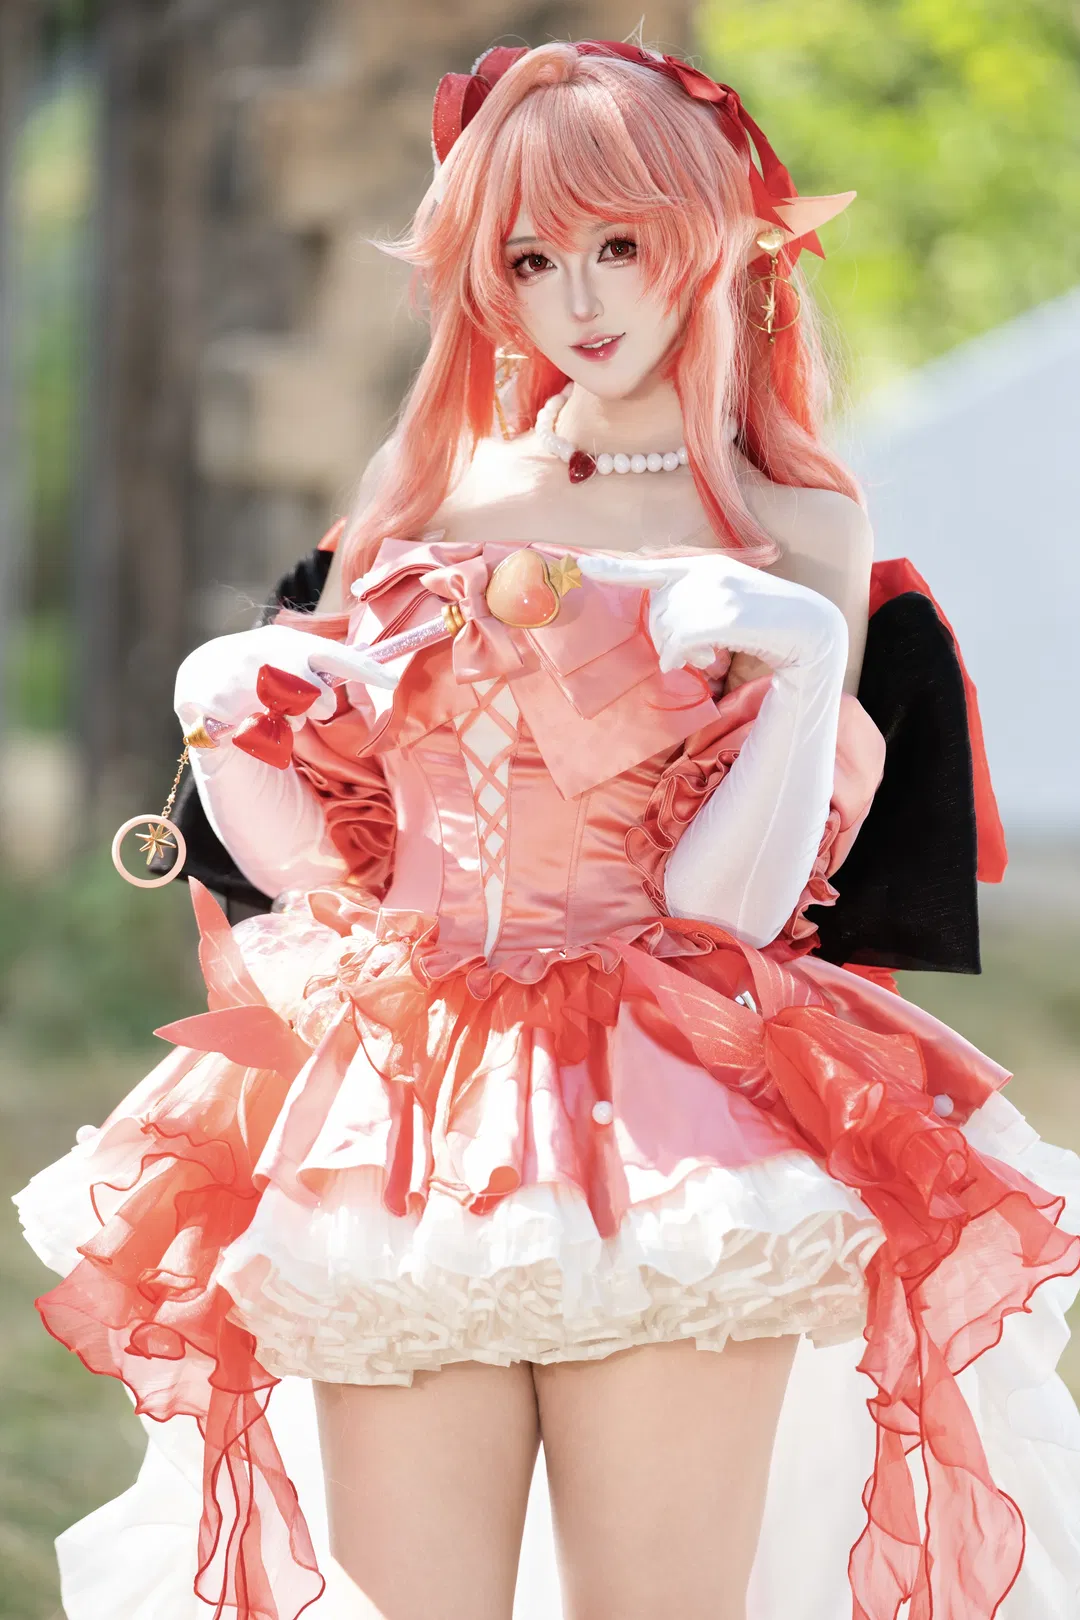
Today's Haruka look truly took quite a lot of thought. Let's start with the outfit: overall it weaves together coral pink and watermelon red, and to give the colors depth, we chose satin and translucent sheer tulle for the fabrics. The strapless bodice design paired with the huge bow on the chest, topped off by that fruit-shaped ornament in the center, serves as the finishing touch. The skirt hem has tons of layers—asymmetrical ruffles on the outside paired with a white multi-layered underskirt underneath—so when walking, the flowing drape of the sheer tulle blends with the puffiness of the pleated skirt for a visual effect I'm super happy with. The short black cape on the back adds a bit of visual weight while making the pink pop even brighter.
For the wig, the peachy-pink strands needed curl and layering, with the bangs trimmed slightly wispy; to match that two-dimensional anime texture, a red bow on top kept everything anchored and styled. Makeup focused heavily on the eyes—to complement the red contact lenses, I used reddish-pink eyeshadow tones and emphasized the aegyo-sal under-eye fullness so my gaze looked brighter. The elf ear ornaments on my ears are actually ear cuffs, with gold star charms dangling from them that catch the light when moving.
The magic wand prop carries decent weight in hand—the fruit-shaped orb at the top uses a special reflective material, the handle is wrapped in pink ribbon, and the metal ring and star charms hanging underneath easily tangle during shooting and need frequent angle adjustments.
We chose an outdoor location for this shoot, where natural light hitting the satin creates a very soft sheen. The photographer had me try several ways of holding the prop, such as gripping it with both hands at chest level or cradling the base with one hand while looking straight into the lens. The white gloves reach well past the elbows, and an over-the-elbow length like this really tests arm posture—if you're not careful for even a moment, it looks stiff, so I tried keeping my arm lines relaxed throughout shooting. On the lower half, because the underskirt covers quite a bit, the zettai ryouiki focuses more on showing the thighs, which calls for angling my stance slightly sideways and letting the skirt's cut elongate my leg lines. To keep my overall center of gravity steady, I went with a slightly crossed-leg stance.
Even though this look is pretty, putting it on genuinely requires patience—layer upon layer of fabric and accessories need tidying the moment you move outdoors. Yet seeing the texture in the finished photos made all the advance prep feel worth it, especially that luminous translucency when sunlight hits the sheer tulle skirt, which is tough to fully replicate in post-processing.
Adding a few extra details about accessories and the shooting process: the pearl necklace with the red gemstone pendant around my neck was specifically picked to fill the open neckline space. During the shoot, a gentle breeze happened to blow past, lightly lifting the edges of the sheer tulle, and the photographer caught several frames right then with super natural flowing lines in the skirt. I have to say, the tailoring of the lace-up waist design on this outfit is really clever—instead of an ordinary waist cincher, it uses a criss-cross cutout effect paired with side pleats to visually nip in the waist. Blush in the makeup was also swept relatively high, paired with glossy lips to bring out a sweet mood. Between takes, I kept communicating with the photographer about light angles, since satin easily blows out under harsh sunlight yet loses its soft pink glow in shadow, so we tested light positions several times. Every grip on the prop and how my fingers rested inside the gloves was double-checked repeatedly to ensure the photos wouldn't look stiff. Honestly, the most fun part of shooting cosplay is recreating and presenting details like these—from garment fabrics to the painted finish on props, every step takes genuine patience.
For the location, we chose an outdoor garden with off-white stone walls, where the green foliage backdrop created great color contrast against the pink outfit, and the blurred background kept the viewer's focus completely on my posture. Because the wig is quite long and tangles easily outdoors, I sprayed it with conditioning mist and styled it ahead of time—especially the wispy side locks, which needed adjusting just enough to frame the cheeks slightly so my face looked smaller on camera. The red bow on the wig was secured with hairspray and invisible bobby pins to keep it from slipping while walking. For base makeup, to keep skin tone even and harmonious with the pink palette, I chose a clean, fair foundation paired with setting spray so long hours under outdoor light wouldn't turn shiny. Every time I set down or picked up the magic wand, I had to be careful not to knock its gold five-pointed stars and metal rings so the paint wouldn't chip, placing the prop carefully on a clean mat between takes. Across the entire shoot, my biggest takeaway was how much the outfit's layering supported the frame—whether sitting or standing, the stacked folds of the skirt brought out completely different looks.