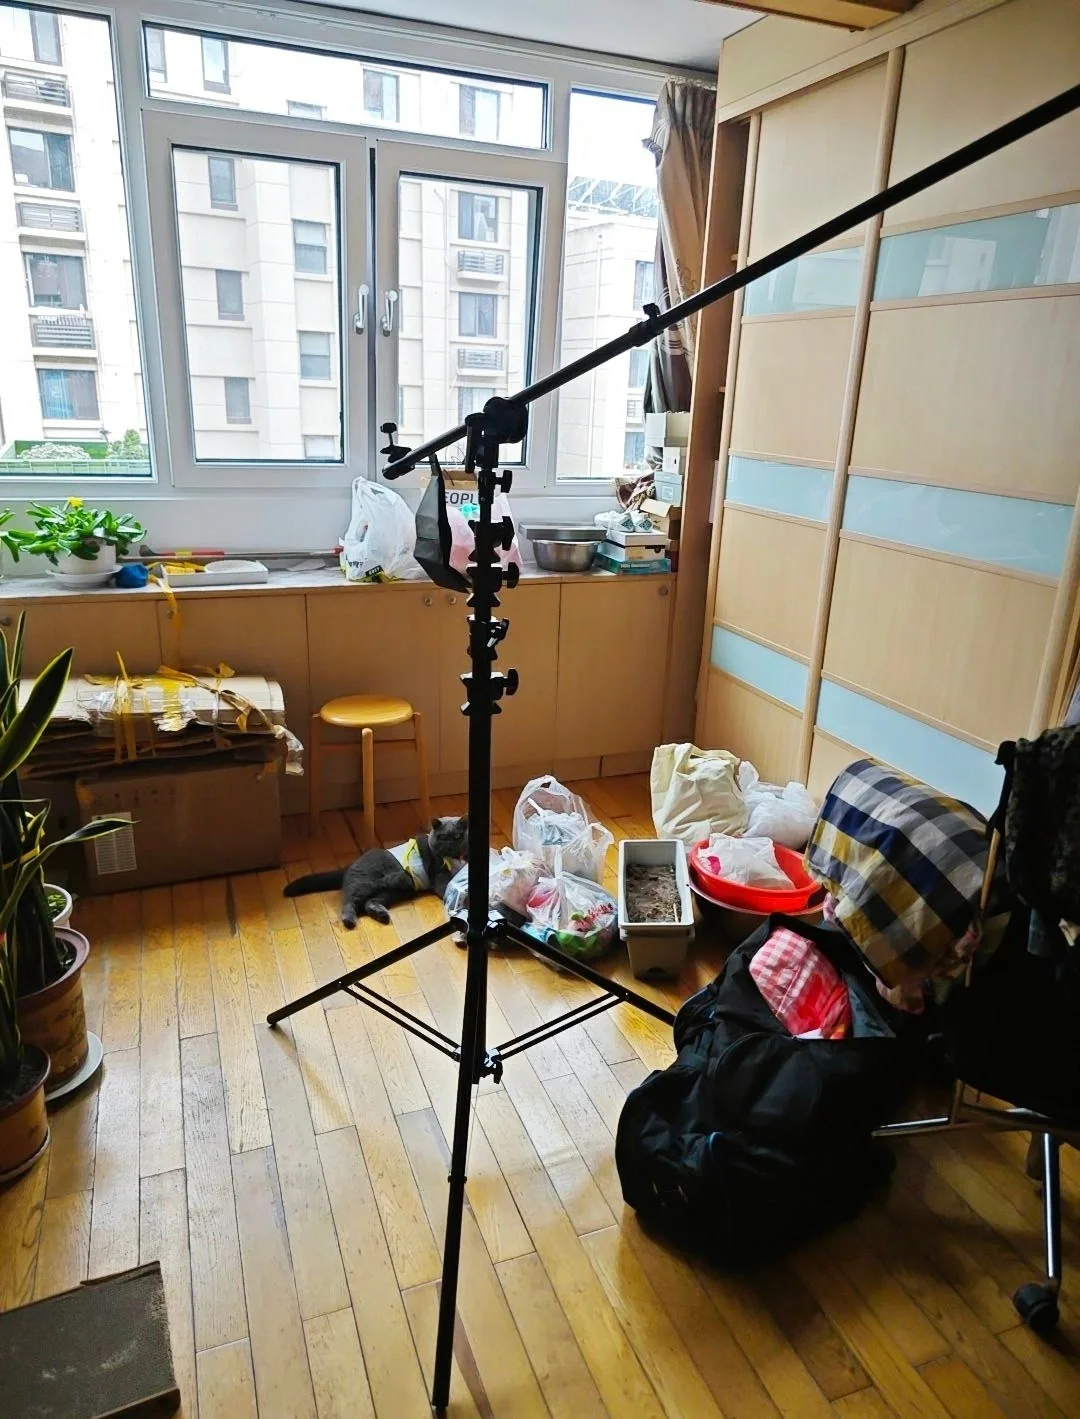
This time at the convention, I brought a 4.8-meter photography light stand, and many fellow hobbyists and passersby asked me how I managed to carry it in.
Let me clarify, this isn't an ad; I just genuinely think this thing is incredibly useful for convention photography. The only downside is that it's too heavy; setting it up by myself is a killer, and I had to disassemble it into several sections just to transport it.
But the advantages are absolutely overwhelming. Let's talk about the gear combination for this photography equipment sharing: I generally use a standard reflector or a snoot paired with a honeycomb grid. This combination produces extremely clean light, allowing me to basically direct the light exactly where I want it. In a convention environment where the ambient light is extremely complex and the background crowds are chaotic, high-angle lighting has a natural advantage.
First, it basically doesn't leak light. The spill distance of a standard reflector is controlled, and combined with the grid's light control, the light can be precisely locked onto the cosplayer. It won't throw light all over the place and mess up the surrounding environment like ordinary large softboxes do.
Second, it won't create weird shadows or patches on the face. Previously, when using low-angle lighting, it was easy to leave shadows or odd glares on the face. This high-angle, downward perspective combined with the grid ensures a very soft transition of facial highlights.
Adding a snoot produces light that carries its own stage spotlight effect, pointing directly at the top of the head or side of the face to fully maximize the atmosphere. At the convention venue, it also makes it incredibly easy to find friends—the highest light stand in the room belongs to you, and friends can spot my area at a single glance.
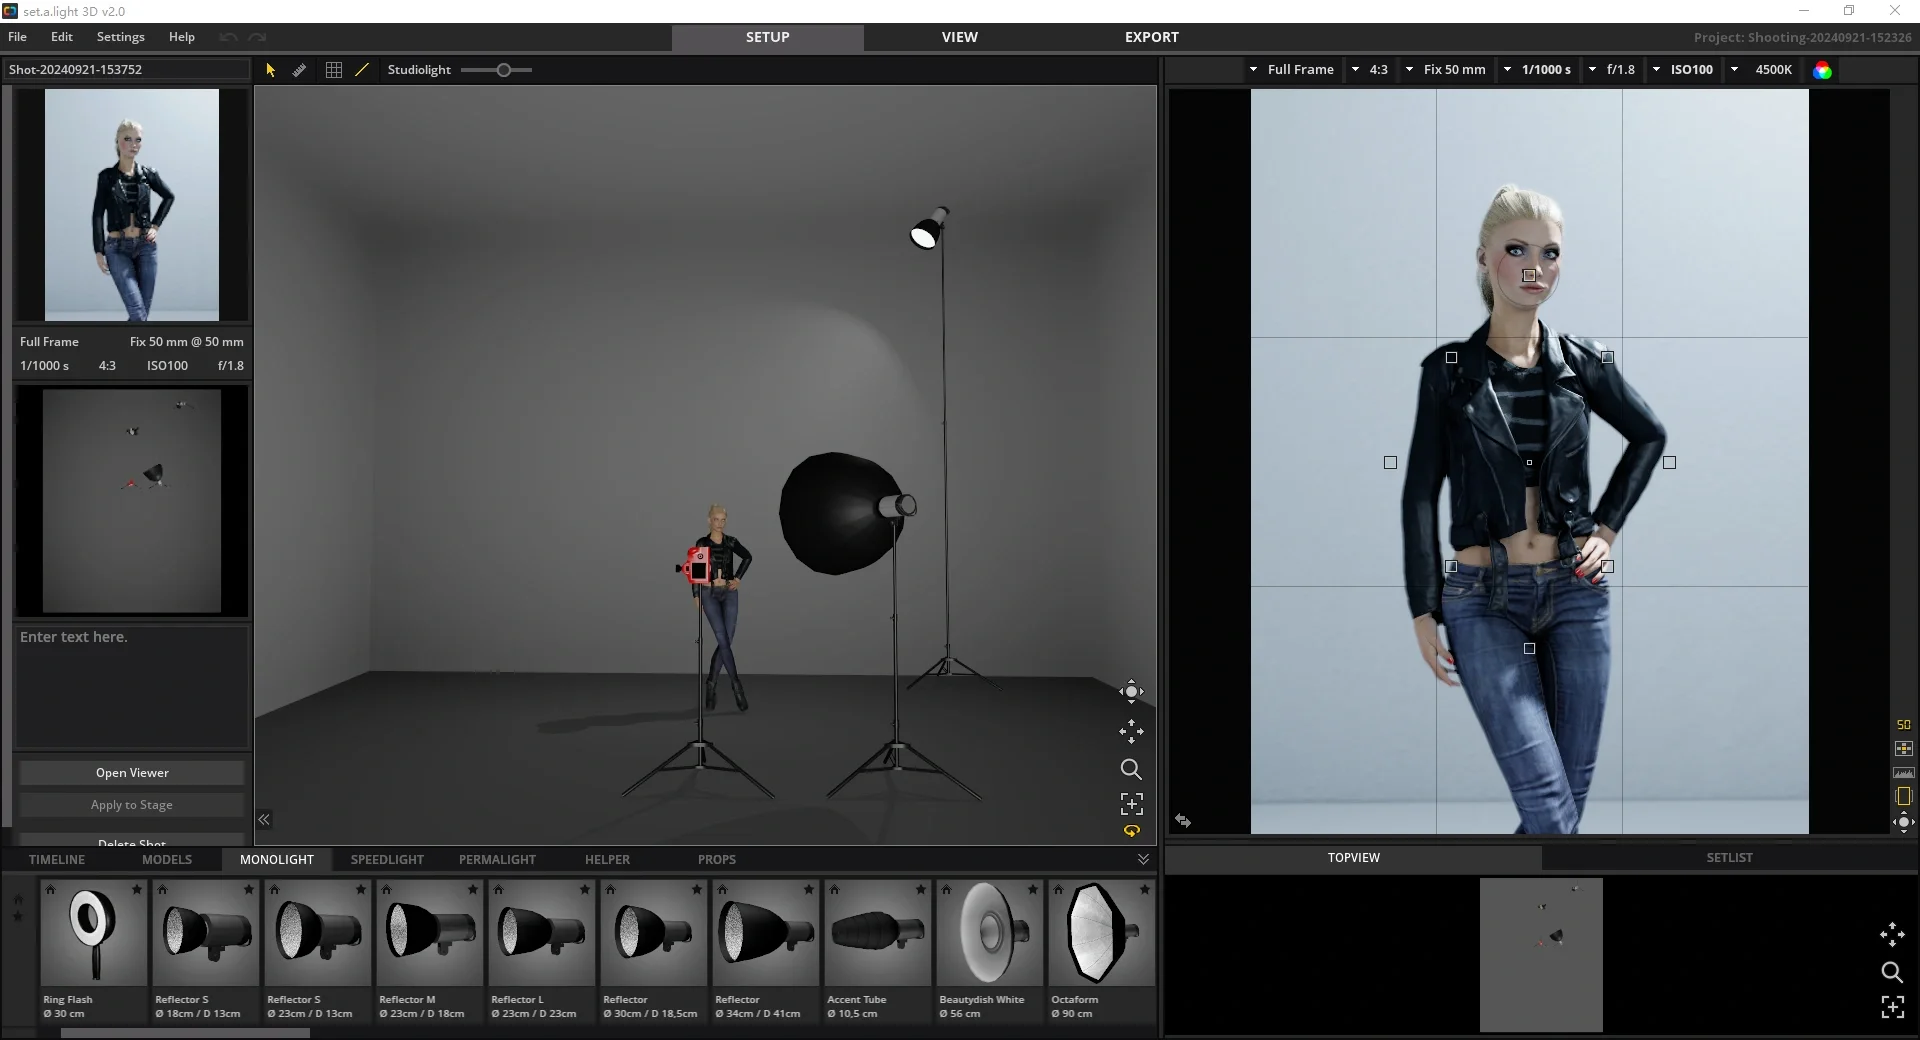
Photo 2 is a rough light simulation diagram; I also do some pre-visualizations in software first. However, when shooting at the convention and referencing this light position diagram, I actually think it's best to add a rim light on the left side so the subject's edges have more depth.
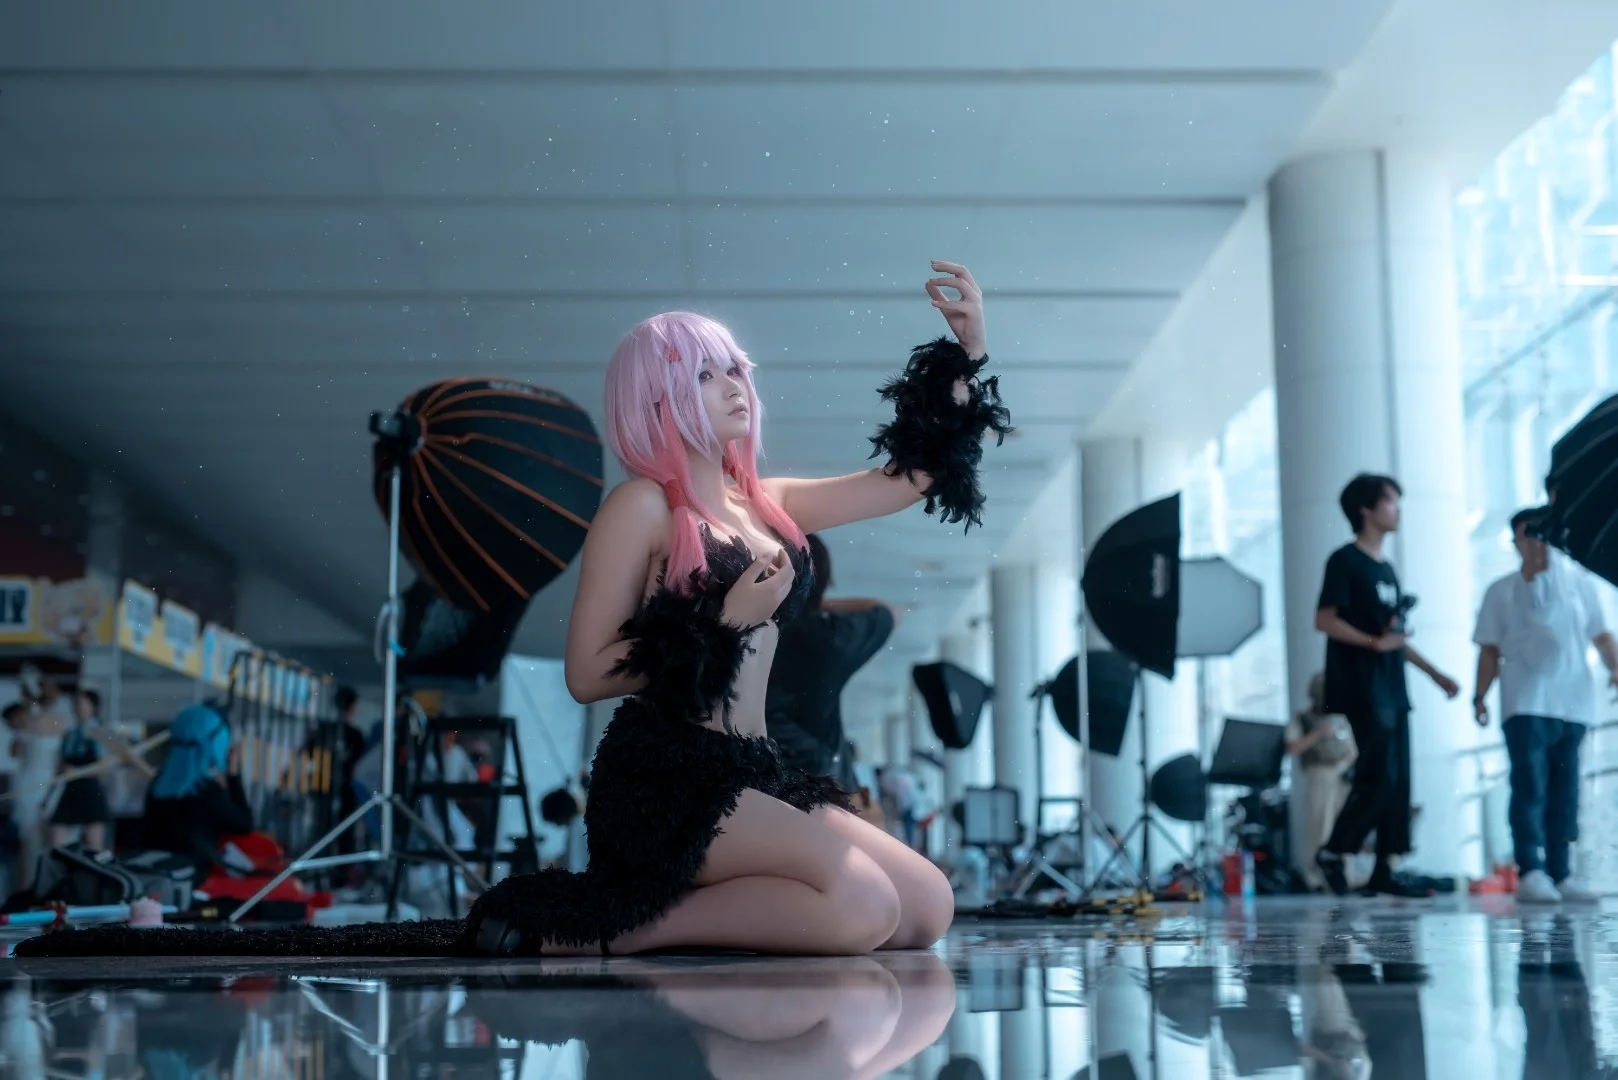
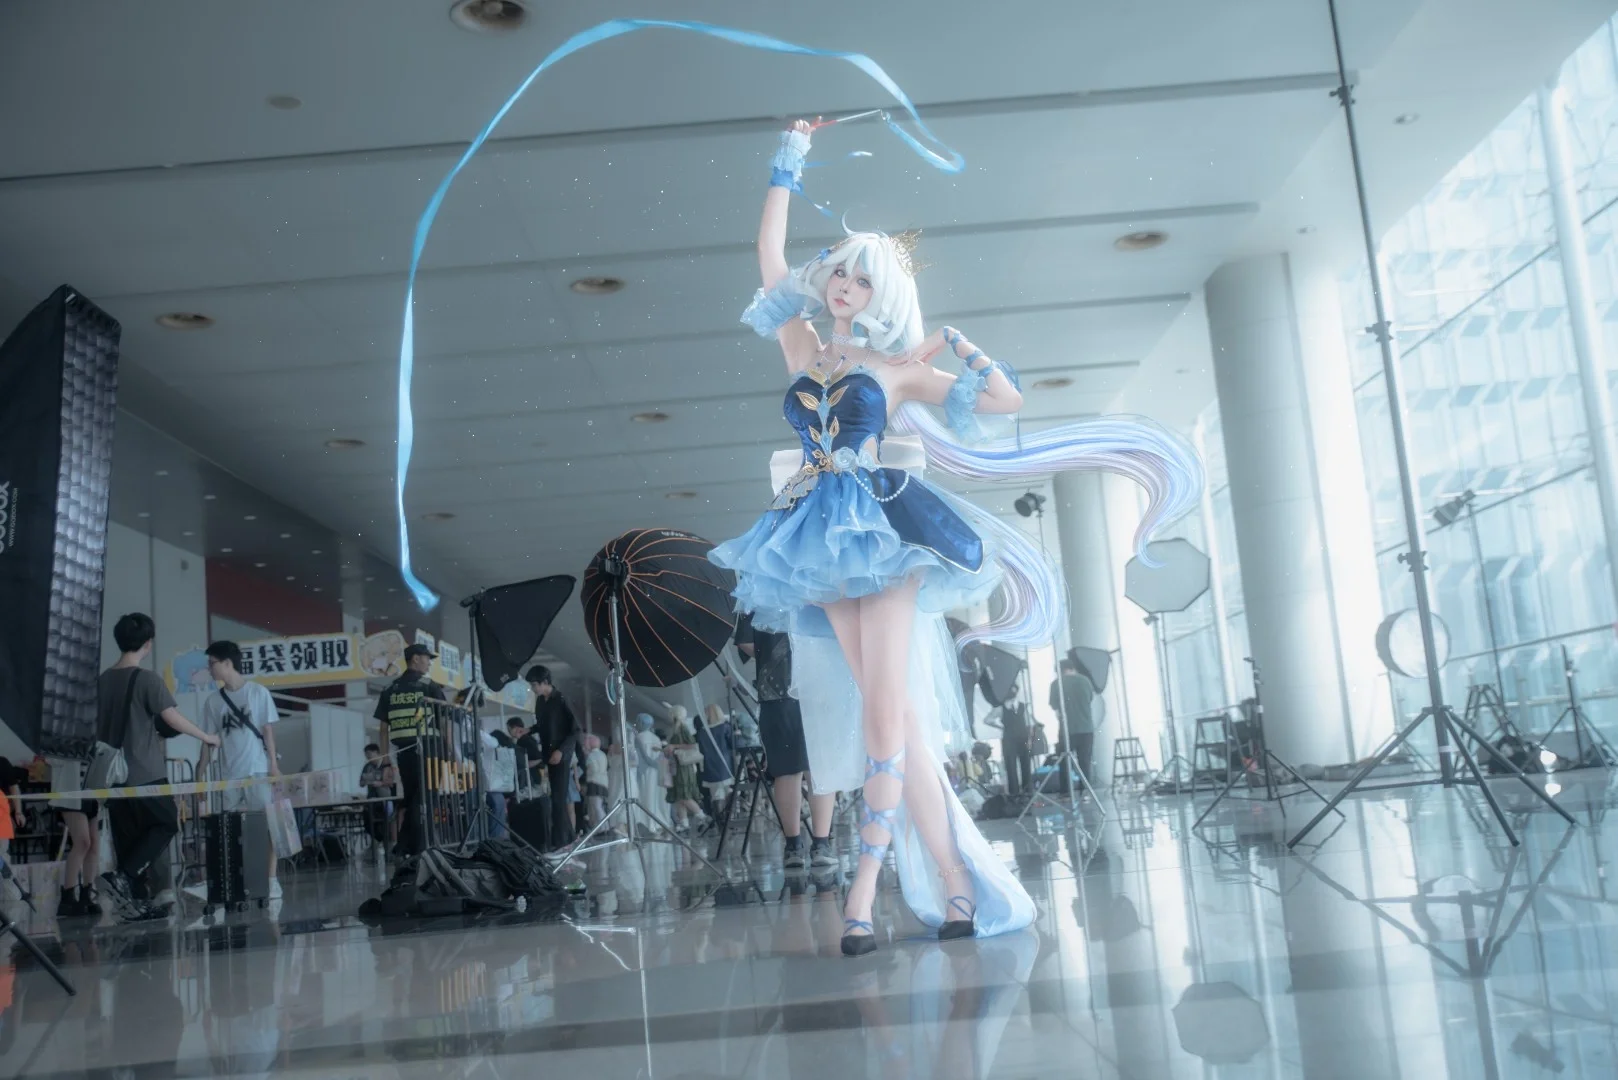
Photos 3 and 4 are the actual cosplay convention photos from this convention. With just a simple color adjustment, the raw light in the original photos is basically straight out of the camera. Some people might find the light too harsh, but I prefer this touch of hard light that brings out a three-dimensional feel. In Photo 4, with the action of holding up the streamers, the light hits the edges of the hair and arms perfectly, and with the ground reflection, the frame doesn't look messy at all but feels highly textured instead.
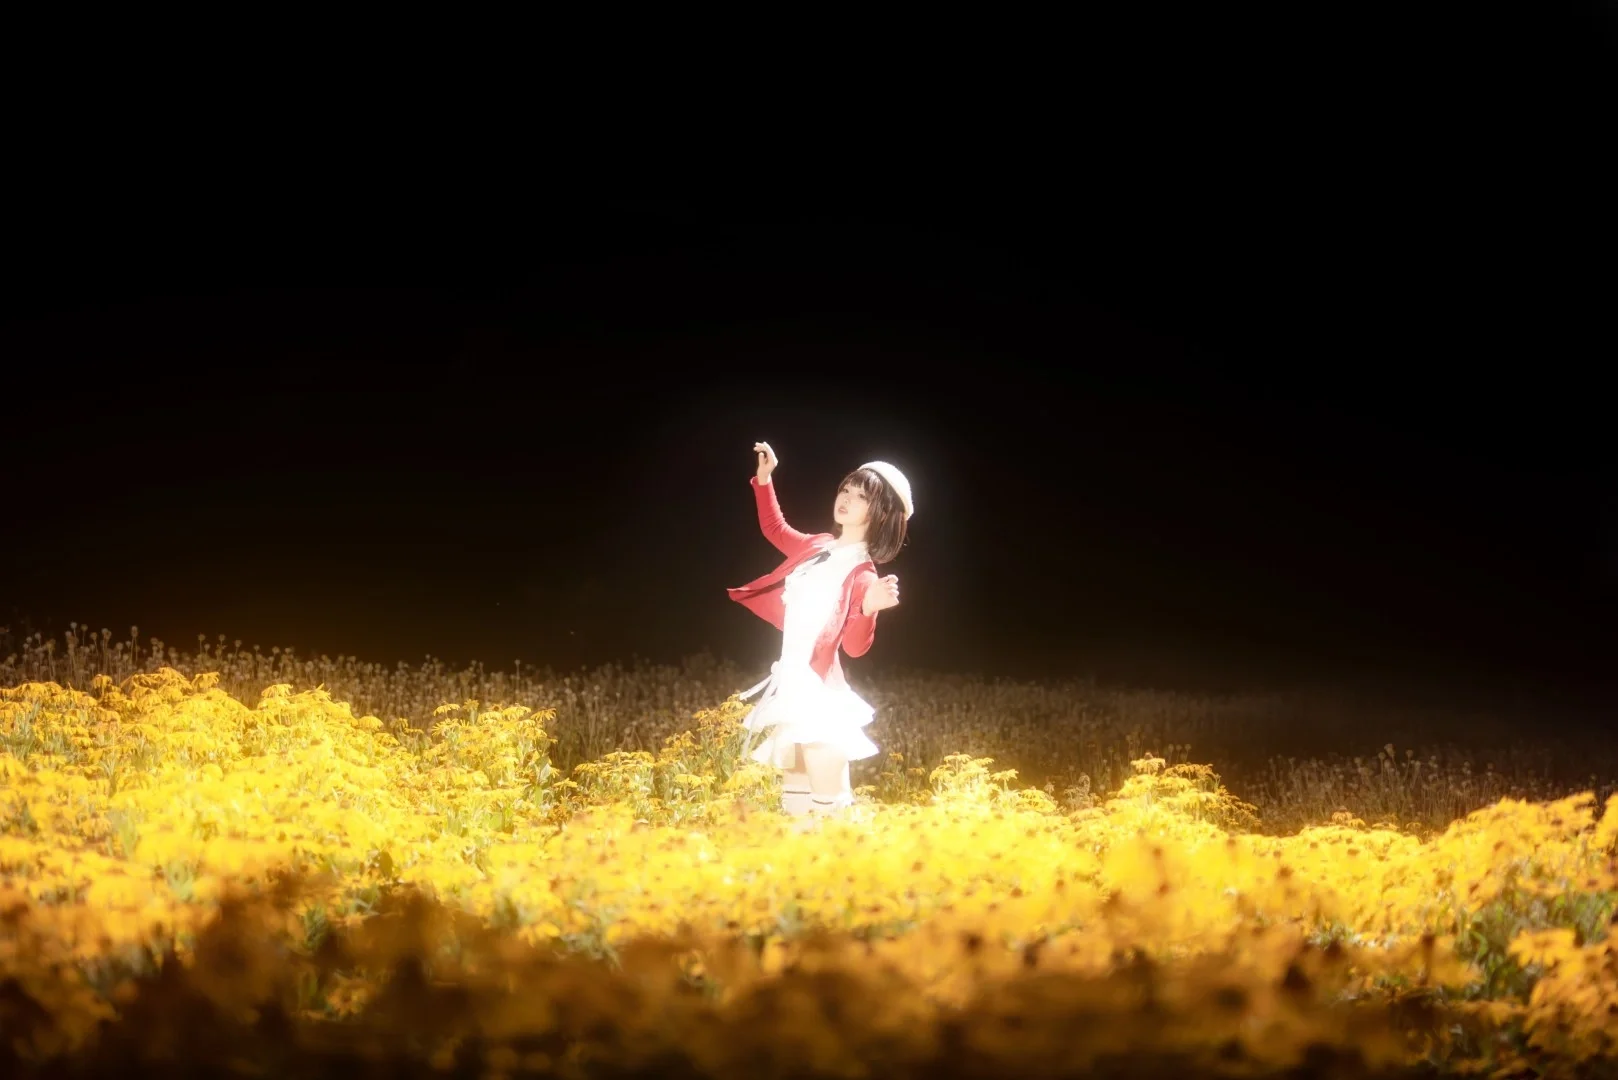
Photo 5 is a set of night scenes shot in a flower field outside. This set actually validated an idea: using this setup to simulate drone lighting. Because the gear is too heavy, I couldn't operate the camera while holding the light stand, so I had to find someone to hold it nearby to prevent it from falling over. The nighttime flower field combined with this single strong spotlight leaves the background completely dark while the subject is bright, giving it an instant blockbuster feel.
Finally, let's talk about some light stand usage tips for conventions. Many people think that shooting at the convention relies on post-production, but actually, if the light positioning is correct in the first place, it saves a lot of trouble on the raw photos. I'm not being a gear snob, but a height of 4.8 meters is what allows you to deliver the light perfectly to the cosplayer, even on second-floor areas or in front of massive crowds where short light stands can't reach. Having a clean, highly directional, and high-positioned lighting solution is definitely a powerful tool to cut down on editing time.