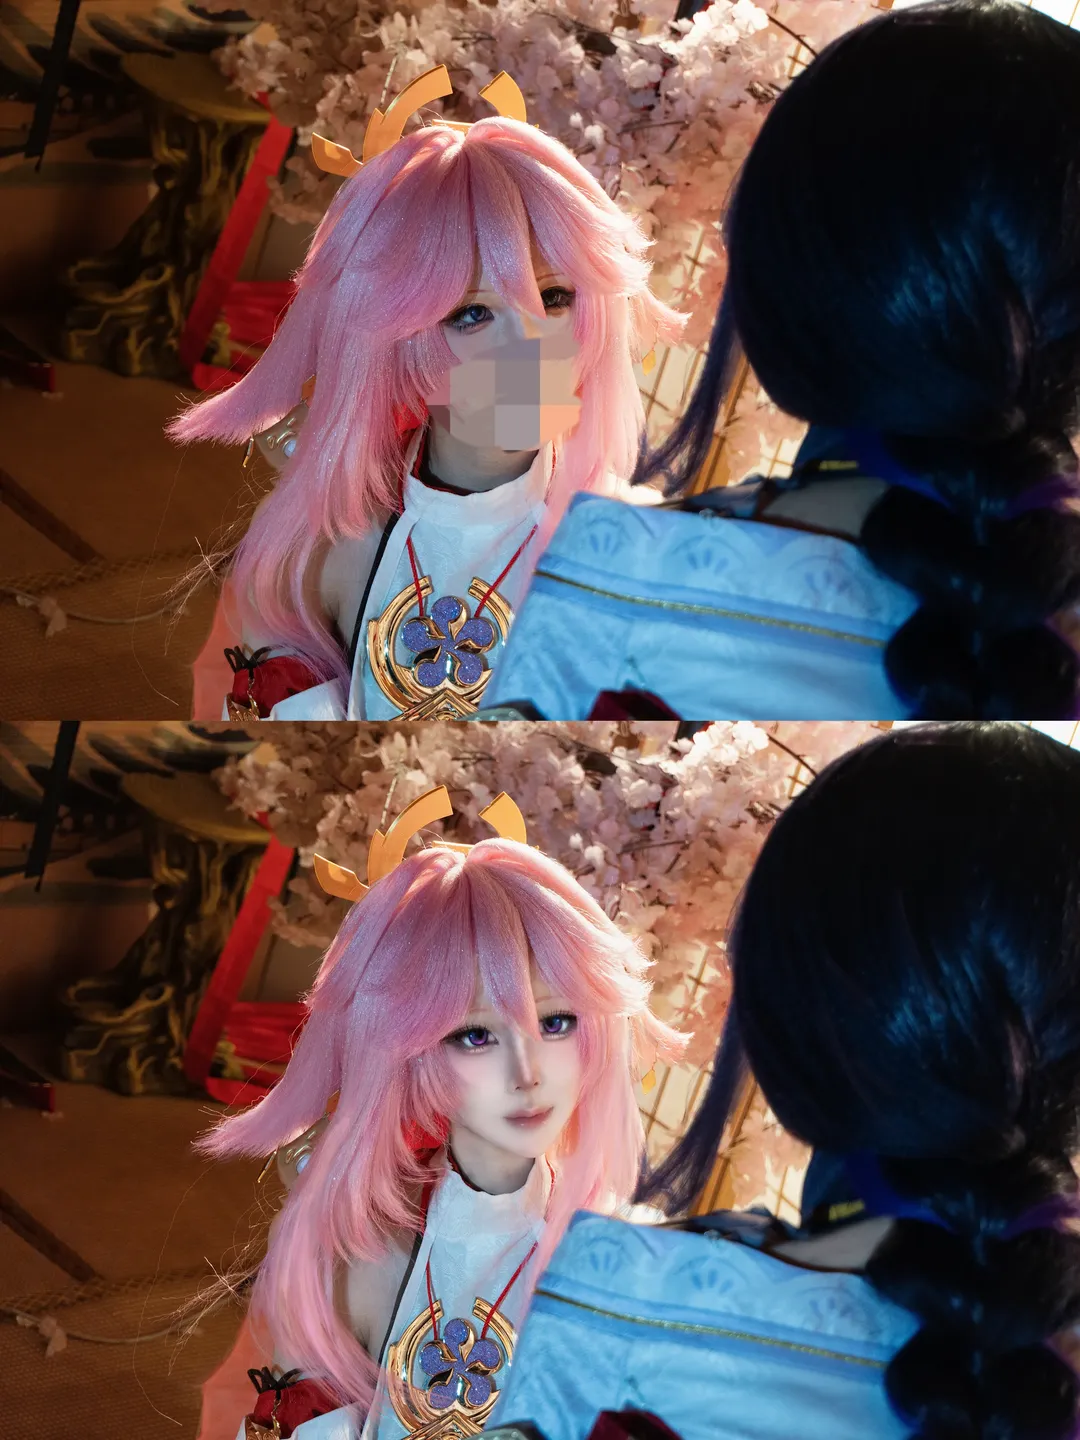
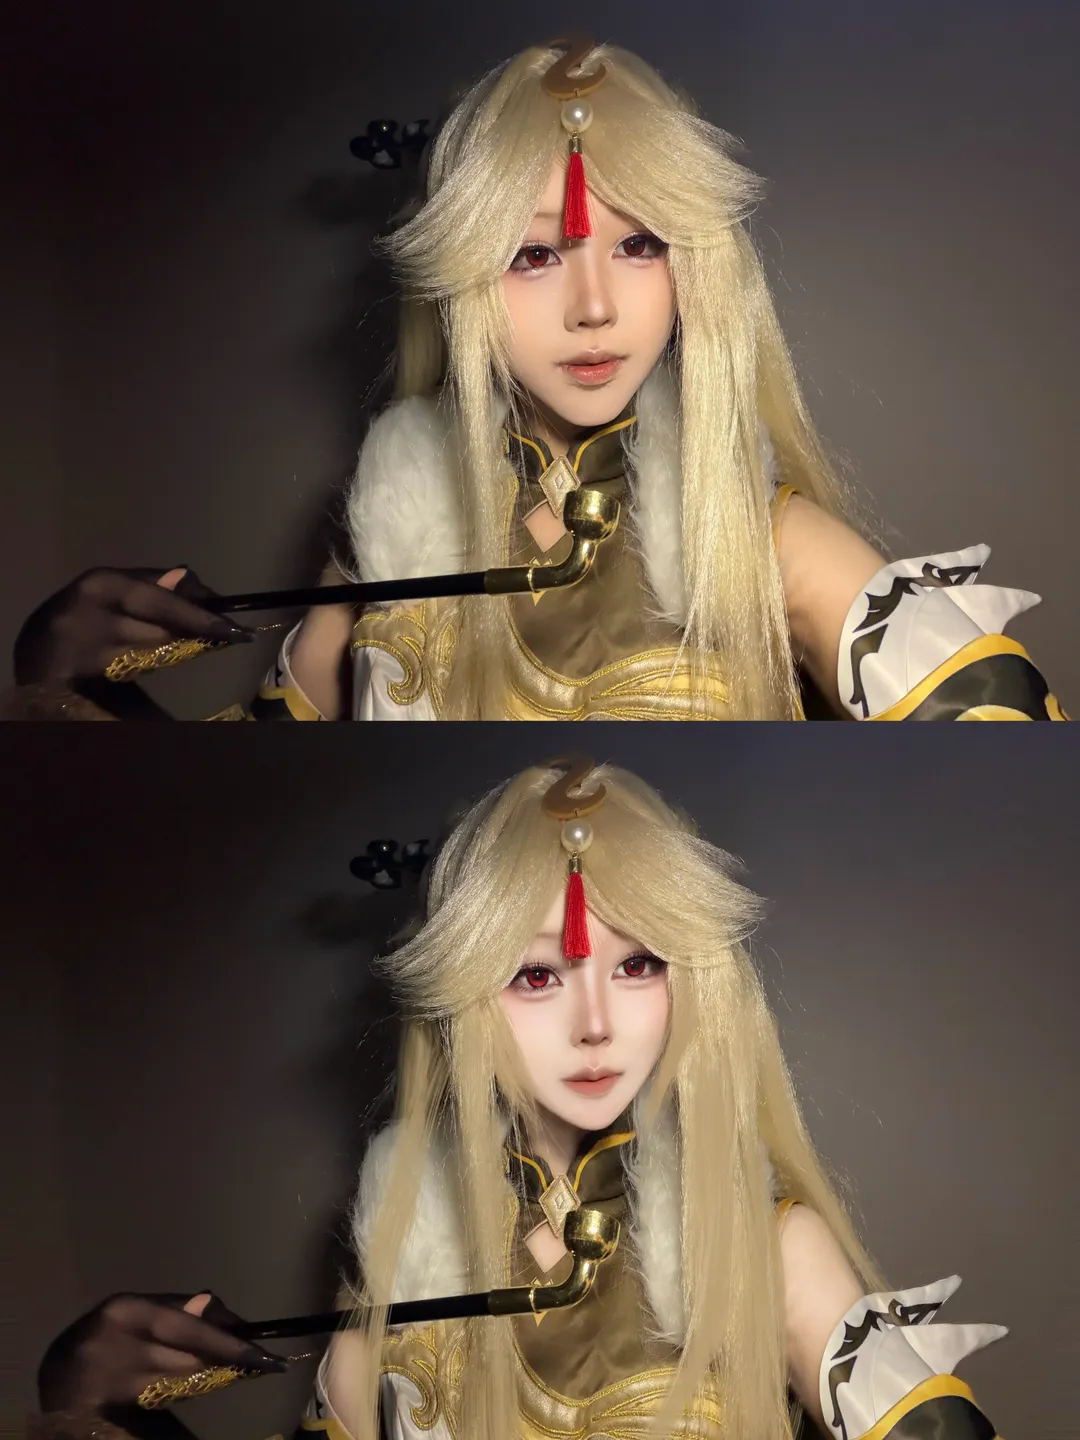
Lately, I've been figuring out how to use mobile Meitu photo editing to create an Imitation thick paint style for Cosplay post-processing. Without a drawing tablet or computer setup on hand, I had no choice but to bite the bullet and "hand-craft" that thick-paint-like texture step by step using Mobile photo editing software. Today, I practiced with this set of Genshin Impact cosplay photos I took, posting them as an archive mainly to document my current level of understanding in post-processing. Seeing how smoothly master artists blend light and shadow in thick paint art, I wanted to see if I could recreate that feeling using available mobile editing tools.
Actually, I hesitated at first because Mobile photo editing apps, after all, aren't professional drawing software; brush pressure sensitivity and the variety of layer blend modes fall far short of digital tablets. But given the hardware limitations, I had to play to my strengths. Throughout the entire process, I only used the Meitu app. In initial processing, I usually rely on basic features in "Portrait Beautify" to manage skin highlights and shadows, then use the "Eraser/Heal" pen to clean up clutter in the background or stray hairs along the wig's edges, keeping the main subject—the character—as clean as possible.
Entering the main "thick paint" phase, I relied on the "Partial Adjustment" and "Brush" functions in Meitu. If hair highlights can't be rendered crisp like a 3D model, they must be manually smudged. I use the brush to color-pick the hair's base tone, then paint and blend over the highlight areas. To prevent it from looking like a flat block of dead color, I constantly adjust the brush's opacity and size. This process is extremely time-consuming—often, a single strand of hair requires brushing ten to twenty times just to show a subtle gradient effect.
When creating an Imitation thick paint style, the hardest part is handling harsh, unblended edges. Because brushes in photo editing apps have relatively hard edges, simply painting flat color produces a noticeable "plasticky" or "smudged" feel. To alleviate this, I deliberately apply a few manual soft blur strokes along intersecting boundaries, such as between hair ends and clothing, giving the image a painted feel overall. This actually requires a relatively clear understanding of lighting structures; while I don't know professional color theory, adjusting highlights and shadows based on the raw photo's light source direction generally keeps things on the right track.
Another crucial trick is widening the contrast and saturation. To make the Imitation thick paint style effect more pronounced, during color grading I deliberately add a hint of cool tones to the shadows and warm tones to the highlights, artificially creating a painterly warm-cool contrast. Meitu's "Filters" and "HSL" tools helped tremendously, allowing me to adjust individual color channels and precisely control color tendencies across each region. Although this approach may seem rather unconventional, it is the fastest way to get results without layer blending modes.
Compared to constructing complex 3D structures to match game models, an Imitation thick paint style offers far more room for subjective creativity, which is why I chose to study this direction. You can subjectively brighten certain areas based on your own aesthetic or darken the background to make the subject pop. Because you don't need to strictly follow realistic physical structures, even a complete beginner like me can see tangible progress and promise on these Genshin Impact cosplay photos of my own.
For this set, I actually edited multiple versions over and over. At first, I had no sense of moderation and edited the character overly smooth, losing the texture of the photo itself; later, I tried adding textures, but it ended up looking messy. Eventually, I discovered the secret: "restraint." An Imitation thick paint style doesn't mean eliminating all details; keeping a touch of raw image noise, natural texture, and original lighting characteristics makes the final piece feel richer and more substantial rather than a dry, flat digital graphic.
Although the final result certainly can't compare with genuine digital tablet paintings drawn stroke by stroke—given the limitations of tools and artistic foundation—this is indeed my current personal best. The process of editing is truly therapeutic: watching a plain photo gradually transform into what I envisioned through my own tinkering brings enough fulfillment for any hobbyist. Every time I finish an image, I save it immediately; comparing it against the original raw photo stored on my phone, this visible transformation is the very driving force that keeps me hand-crafting my edits.