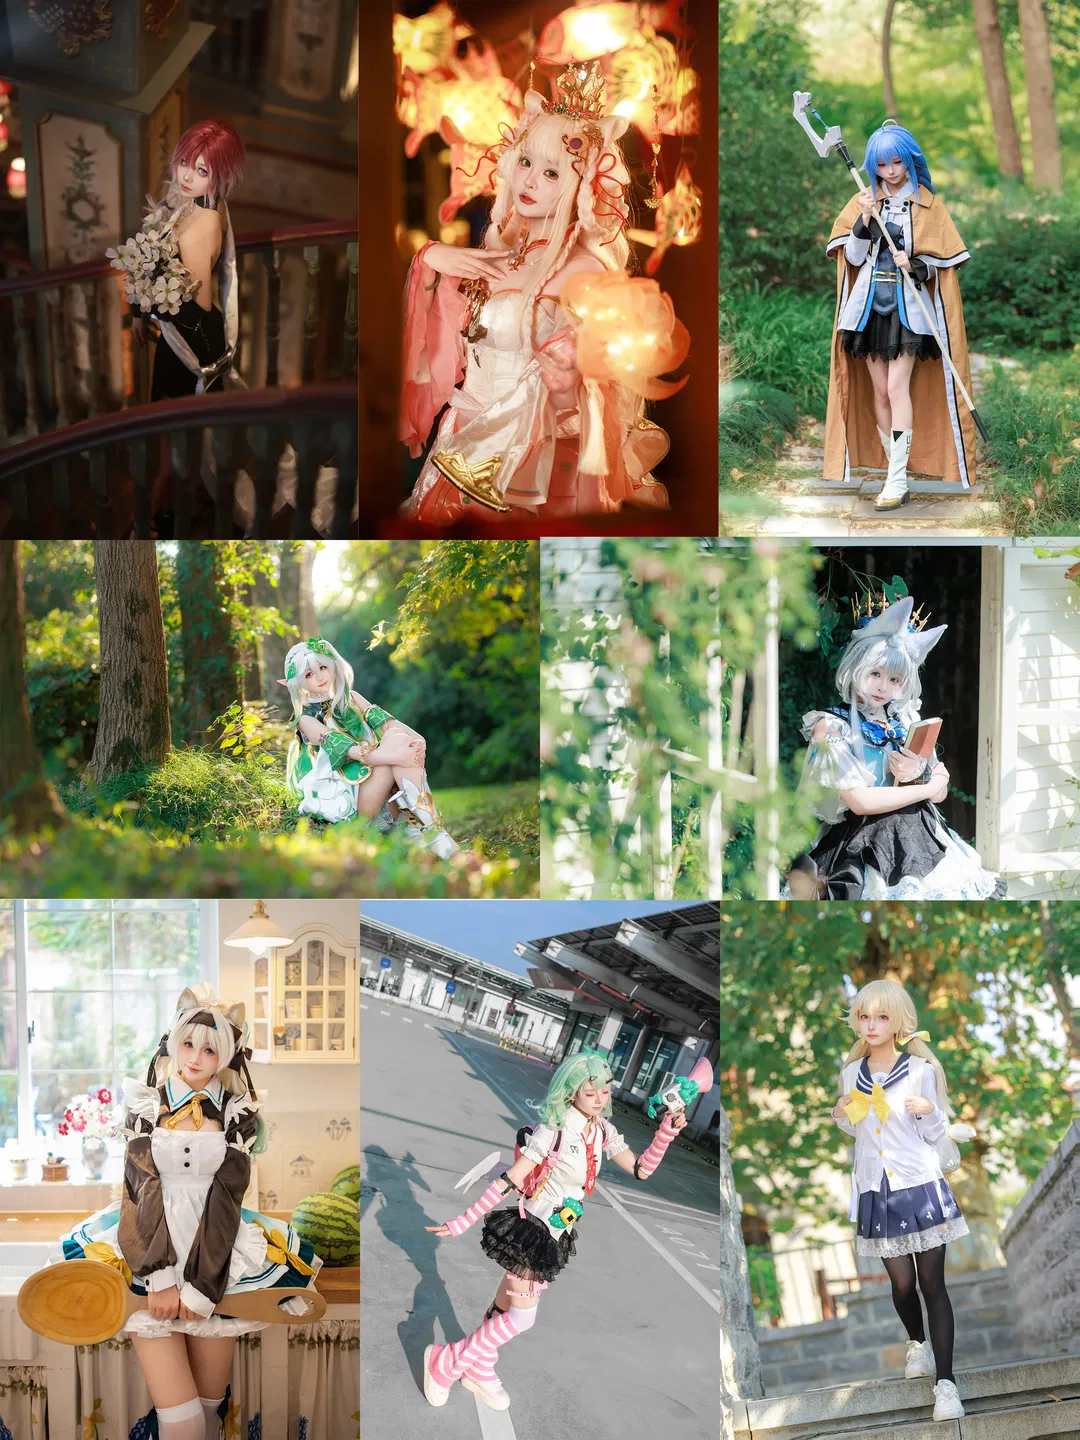
To avoid the financial and travel pressure of hiring a makeup artist, I decided to handle the complete makeup, styling, and wig myself for this collaborative mutual-aid photoshoot. Preparing for this Genshin Impact Ganyu shoot really took a lot of thought. Since I usually practice makeup myself, when communicating with the photographer in the early stages, I specifically requested that the later face retouching lean towards a natural feel, retaining some of the skin's original texture and shadows. Styling the wig was the main event this time; days in advance, I started using hairspray to shape the layers and directions piece by piece, especially the arc of the bangs and the tapering of the hair ends, adjusting in front of the mirror for a long time to ensure it holds up from all angles in front of the lens. The accessories on the costume were also checked in advance to ensure nothing was missing or fading.
The shooting time was intentionally scheduled on a weekday, avoiding the weekend crowds and the hassle of competing for photo spots at the scenic area. This not only allowed me to focus more on perfecting the details of my poses, but the shooting pace was also much more comfortable. The sunlight on the day was very kind; natural light hitting the clothes instantly brought out the texture and feel of the fabric. Because I have some prior shooting experience, my limbs didn't stiffen up in front of the lens, and I knew how to follow the photographer's guidance to find the character's state. To match the character's temperament, I constantly adjusted my posture—for example, keeping my shoulders slightly relaxed while keeping my back straight, and matching the amplitude of my movements with the weight of the costume. When facing angles that required looking back or turning sideways, I tried my best to control the range of my jawline, making the facial contours look more three-dimensional under the play of light and shadow.
During the shooting process, I also kept confirming the composition with the photographer to ensure that the wig styling and props could be completely captured within the frame. There were a few times when the wind was relatively strong and the hair ends got a bit messy, so I quickly took advantage of the rest intervals to tidy them up again. We tried several different scene corners, from greenery backgrounds to solid-colored walls, trying to use different framing shots to enrich the storytelling feel of this photo set.
After the shooting ended, it was time to wait for the returned photos. As agreed, we would complete the delivery within two weeks. After getting the raw images, I first retouched the face myself, focusing on skin tone uniformity and partial fine-tuning, since the foundation of the raw images was already quite good. When retouching the face, I paid special attention to preserving my own features without using that kind of exaggerated liquify tool; it was mainly about repairing some acne marks and uneven light-and-shadow spots.
Over the last couple of days, I received the final retouched photos. Looking at the interlaced light and shadow on the screen, I felt that all the hard work and preparation on that day were completely worth it. The mottled light and shadow filtering through the leaves in the woods and the open natural light outdoors set off the character's atmospheric vibe just right, and some close-up shots of details can even withstand being zoomed in.